Sorry guys 'n' gals, it appears to be a decorative feature.
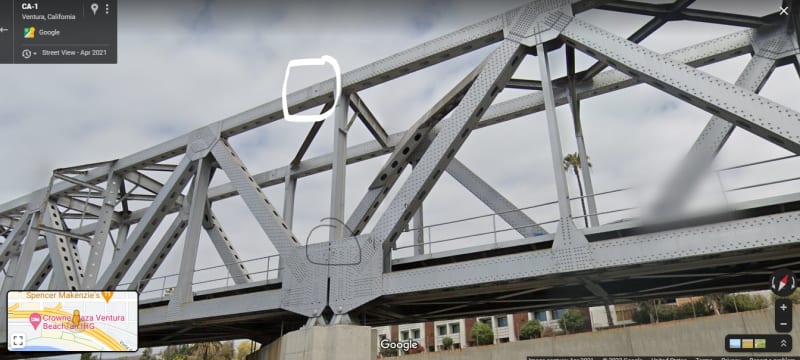
In this first picture, we see the "T" shape of the unusual addition (note that this is a skewed bridge).
The top of the T has a pin in it. If you follow the darkish "I beam" over to the left, you will see another pin on the far side. TWO pins, one on each side! You will also likely note that, on the far side, the part of the T-top that goes to the right of the pin has a very curious termination. It sits on a little shelf. If you come back to the front plane, and also go to the right to the end of the T, and consider how far that end goes beyond the edge of the gusset plate, you will note that the end is attached to the rest of the bridge by FIVE rivets. NOT what one would expect in a major railroad bridge over a major freeway.
Now go over to the LEFT end of the nearer T. Note THERE that there are quite a few more rivet--upwards of 70. Now you could ask yourself: "If this top member is designed to accept either a compressive or a tension load, how come one end is so much more robustly joined that the other?" You could also ask yourself: "How come the lightly attached ends of these members are only attached to ONE gusset? Isn't that going to be a very nastily distorting input when/if a load arrives?"
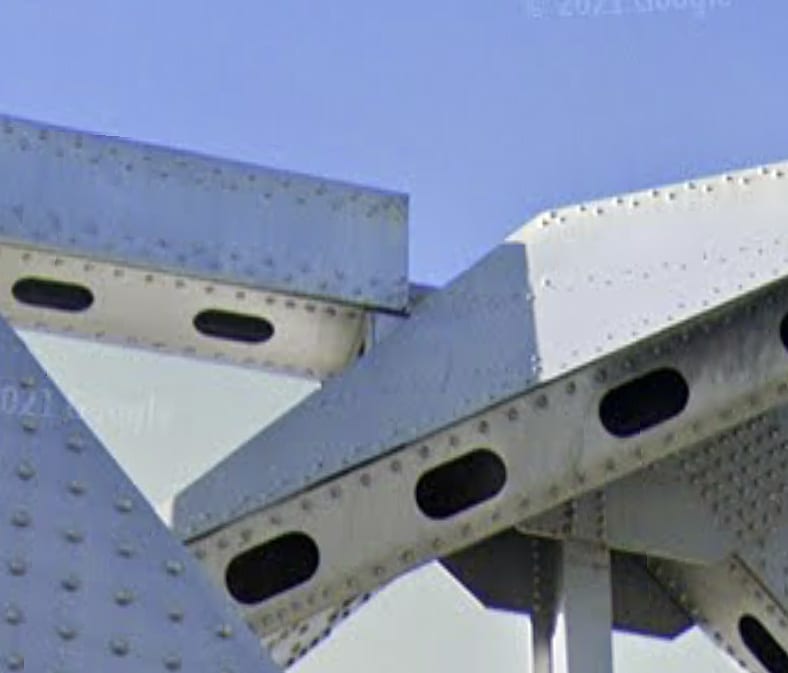
Below is another shot of the "strange termination":
You can see the cute little shelf the end sits on, and you can see that the member is only attached to ONE gusset plate.
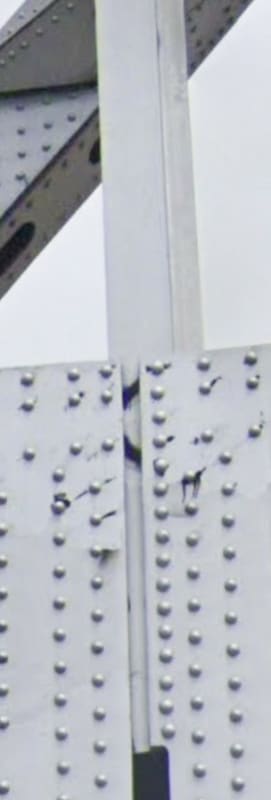
Now, examining the bottom connection of the vertical post of the T, we find that the left-hand vertical row of rivets do not actually join the post to the gusset. They miss the flange of the vertical post, and are only there for decoration.
Should you suspect that the visual offset is due to the angle of view, note the same type of rivet row in the TOP of the post, shown below. THAT one clearly DOES go through the post flange.
Also of note in the upper picture is the complete lack of reinforcement around the pin joint. Unusual for a load bearing point, isn't it?
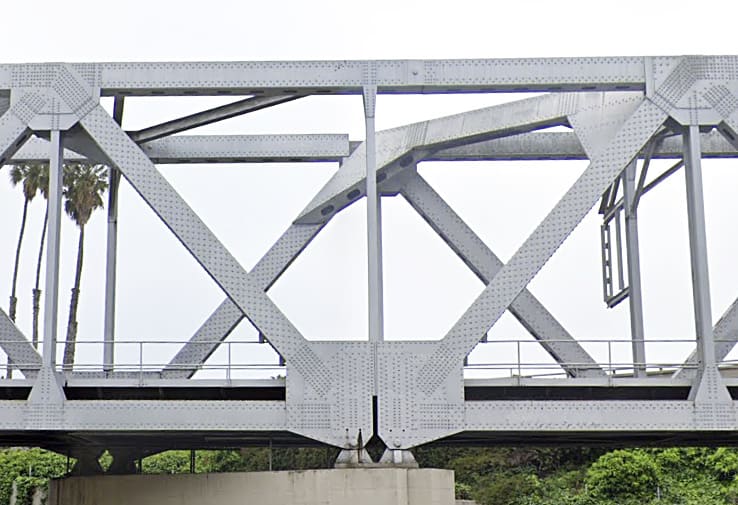
And finally, we have an overhead view. You can see the shadows cast by the unusual connection of the western (left) end of the T-top. You can also see an interesting semi-V shaped bit of bracing connecting the two T-tops. Note where they attach.
It appears the two spans were installed separately, with the major part of the "T" structure attached to the eastern span. Once both were installed, the two remaining top pieces of the "T" were dropped in and attached by one pin and 5 rivets, each.
spsalso