NDT of Raw material
NDT of Raw material
(OP)
Dear Experts,
As per our project specification, prior to machining, our sub-contractor shall perform UT on raw forgings of size above 30" (Ref. Standard: API 6A/ASTM A388/ASTM E428).
Now, sub-contractor is declining to perform UT on raw material as they are saying that reference standard requires calibration blocks to be of same sizes (i.e. almost 30") with FBH.
Based on the UT evidence in the Mill MTC, they are requesting us to accept the material.
My question: 1) Can we use any alternative NDE for UT for volumetric NDE? RT seems to not feasible due to bulkiness of raw forging and lead time.
2) Can we use smaller sizes of calibration blocks? Any impact on sensitivity? Any other alternative reference standard for Calibration block which allows to use smaller sizes
of blocks.
Appreciate your advice. Thanks
RE: NDT of Raw material
Many times small cal blocks can be used, but it depends.
What work did the sub do to the material?
If they forged it then another UT is needed.
= = = = = = = = = = = = = = = = = = = =
P.E. Metallurgy, consulting work welcomed
RE: NDT of Raw material
I believe what the sub-contractor is saying is the casting is too thick to test. You don't state the type of material, but if it is a stainless steel or a high nickel material I would agree with the sub-contractor.
Using a "smaller block" is not the solution. The thickness of the block represents the thickness of material being tested. If a smaller block were used the entire thickness of the casting would not be tested. It may be possible to test to mid-thickness from both sides if the geometry is suitable. Other than that, the alternative is to calibrate on a larger than specification diameter calibration hole or use a loss of back reflection test. Both of those options will reduce the sensitivity of the test.
JR97
RE: NDT of Raw material
Material is forged AISI 4130 75 KSI Round Bar.
""Other than that, the alternative is to calibrate on a larger than specification diameter calibration hole or use a loss of back reflection test. Both of those options will reduce the sensitivity of the test"".
This seems to be a good alternative solution. Is there any reference standard or recommended practice which includes such provision? Please advise.
RE: NDT of Raw material
You can use this standard outside of its scope but with dedicated procedures, drafted by a L3 UT technician/engineer.
RE: NDT of Raw material
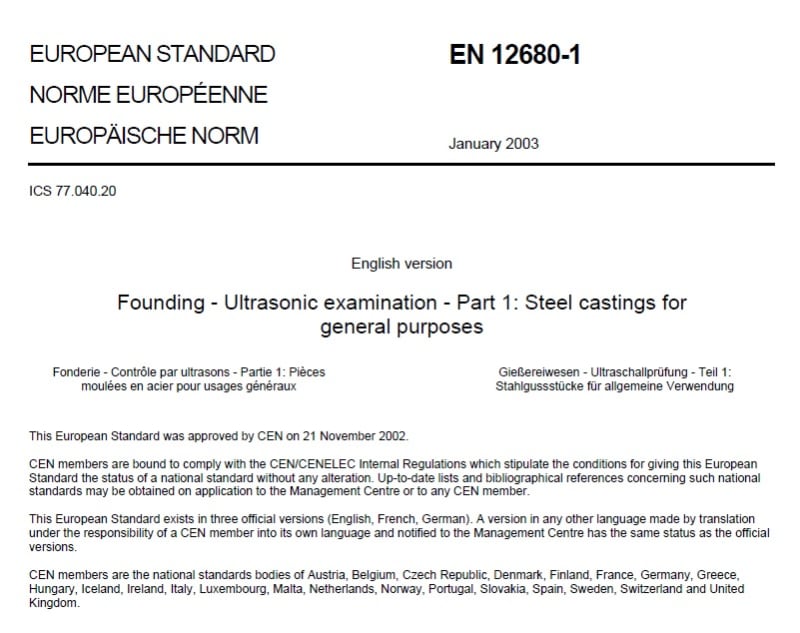
ISO 4992-1/ISO 4992-2 ? 12680 is for refractories
https://www.iso.org/obp/ui/#iso:std:iso:4992:-1:ed...
Steve Jones
Corrosion Management Consultant
www.linkedin.com/in/drstevejones
All answers are personal opinions only and are in no way connected with any employer.
RE: NDT of Raw material
But it appears the ISO 4992-1 is very similar to the old EN 12680-1 after a quick browse through, and much more recent (2021 instead of 2003). So probably over all a better suggestion.
RE: NDT of Raw material
I am a bit surprised they are having issues with 4130 steel. May I ask, is the diameter of the bar 30 inches or is that the axial length with a smaller diameter? If it is a smaller diameter, they may be able to test from the diameter but not the length. The straight beam inspection from the OD will find the most likely defects. A-388 mandates the axial (end face) scan "when practicable". If it is not practicable but you really need something in that orientation, they should be able to substitute an axial shear wave inspection using A-388 Section 9.3 (It is written for hollow rounds, but can be adapted for solid bar as well.
JR97
RE: NDT of Raw material
Diameter: 30" and length (forgings with various length's: 6", 26" & 18" to be used for different length's of products).
RE: NDT of Raw material
Also, sorry for delayed response. Perhaps what your vendor meant by a "smaller block" would be to test to a depth of, say 16" from the OD instead of the full 30". As long as their deepest test distance is greater than the center of the bar, that would be an acceptable method of attaining 100% coverage at the desired sensitivity.
JR97