Hi all!
I was hoping someone could clarify the rational behind selection of hardness test location after final machining on pressure containing parts (PSL 3 subsea application)?
Background/context:
For the most part API 6A will be the governing standard in my case, according to 10.4.1.4 parts shall be individually tested to confirm NACE values (I'm assuming this is after final machining).
10.4.2.4.1 does hint at a location for PSL 3; "[...] additional test on each end connector face [...]", if this is not possible then test on "[...] nearest accesible surface".
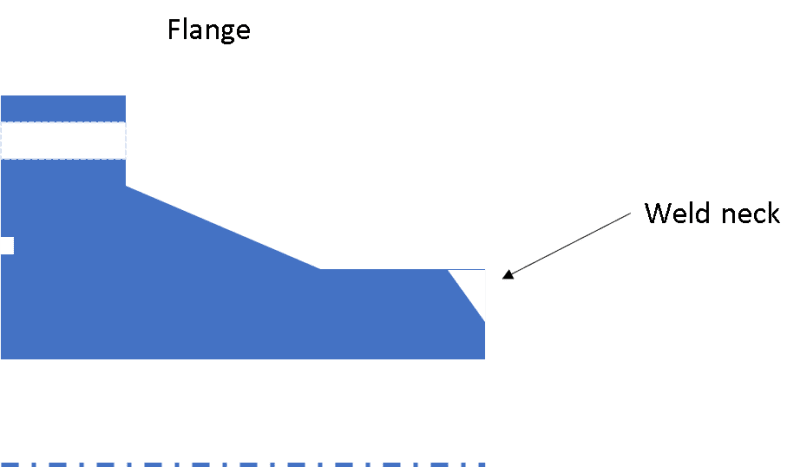
As an example suppose the geometry has a varying cross section and is machined from bar such as this flange:

Where would you specifiy hardness test location?
Thank you!
Regards
Siggi
I was hoping someone could clarify the rational behind selection of hardness test location after final machining on pressure containing parts (PSL 3 subsea application)?
Background/context:
For the most part API 6A will be the governing standard in my case, according to 10.4.1.4 parts shall be individually tested to confirm NACE values (I'm assuming this is after final machining).
10.4.2.4.1 does hint at a location for PSL 3; "[...] additional test on each end connector face [...]", if this is not possible then test on "[...] nearest accesible surface".
As an example suppose the geometry has a varying cross section and is machined from bar such as this flange:

Where would you specifiy hardness test location?
Thank you!
Regards
Siggi
